Trekking the Quilotoa Loop in 2 or 3 days: itinerary, stages, and practical tips
How to gear up for the Quilotoa Loop, a 2- or 3-day trek through the Ecuadorian Andes. Here is our complete guide: the trail from Isinliví to Chugchilán and on to Quilotoa, bus schedules from Latacunga, 7 practical tips, and budget advice to help you prepare for your high-altitude hike.
Trekking the Quilotoa Loop in 2 or 3 days: itinerary, stages, and practical tips
Some treks are earned through high altitudes, others through pure isolation. The Quilotoa Loop gives you both. Perched over 3,000 meters high in the Ecuadorian Andes, this hiking trail connects mountain villages where time seems to have stood still: no ATMs, no cell service, and no paved roads. Just trails winding through canyons, guinea pig farms, and pine forests, leading you to the edge of a volcanic crater filled with brilliant turquoise water.
Why is the Quilotoa Loop one of Ecuador's most iconic hikes?
Because it packs the absolute best of the Andes into a two- to three-day hike: the altitude, the indigenous culture, the raw landscapes, and the jaw-dropping arrival at the Quilotoa crater as the grand finale. The trek is easy to do without a guide, cozy hostels line the route, and it won't break the bank. By combining this hike with a visit to Baños or the indigenous markets of Otavalo and Guamote, you'll have one of the most complete itineraries to experience the Ecuadorian Sierra.
Quilotoa Loop Trek in 2 or 3 Days: Complete Itinerary, Stages, and Practical Tips
You can hike the Quilotoa Loop in 2 or 3 days depending on where you start on the loop. The classic route connects Sigchos, Isinliví, Chugchilán, and Quilotoa, using Latacunga as your base camp. Choosing between the two options depends on how much time you have and how much hiking you want to do.
Feel free to use our interactive map to help find your way along the trail!
The 3-day version (the full route) covers the entire loop as shown on the information boards in the hostels along the way. Day 1: bus from Latacunga to Sigchos, then trek from Sigchos to Isinliví (around 5 hours of walking). Day 2: trek from Isinliví to Chugchilán (12.4 km, 4 to 6 hours). Day 3: trek from Chugchilán to Quilotoa (11.4 km, 4 to 6 hours). The beauty of this option: the first stretch is gentler, giving you a chance to acclimate to the altitude before the two most demanding days.
The 2-day option (the express trek) skips the Sigchos-Isinliví leg. You can catch a bus or local transport straight to Isinliví, and then tackle the two days of hiking: Isinliví-Chugchilán and Chugchilán-Quilotoa. The total walk over these two days adds up to 23.8 km with 1,368 meters of total elevation gain. This is a great alternative if you're on a tight schedule in Ecuador or if you've already spent a few days at altitude getting acclimated.
The high point of the trek: 3,894 meters at the rim of the Quilotoa crater. The villages along the way sit between 2,640 meters (at the bottom of the Río Toachi canyon) and 3,187 meters (Isinliví). To make sure you pack right, check out our backpacker gear checklist before hitting the trail.
Day 1 (3-day itinerary): from Latacunga to Isinliví via Sigchos
Latacunga is the gateway to the Quilotoa Loop. This town along the Pan-American Highway, located about 2 hours south of Quito by bus, serves as the perfect base camp for hikers. The Latacunga bus terminal is where you'll find all the bus connections to the villages along the loop (Google Maps).
From Latacunga, buses to Sigchos run Monday to Saturday at 8:00 AM, 9:00 AM, 10:00 AM, 12:00 PM, 1:00 PM, 2:00 PM, and 3:00 PM (with a reduced schedule on Sundays: 8:00 AM, 11:00 AM, 12:00 PM, 4:00 PM, 5:00 PM, 7:00 PM). The ride takes about 2 hours along winding roads (Google Maps). I highly recommend catching an early morning bus so you have plenty of time to hike to Isinliví before dark.
The trek from Sigchos to Isinliví takes about 5 hours. The trail winds through farming hamlets and Andean valleys, with a moderate change in elevation. It's the perfect warm-up before tackling the tougher stages ahead. You'll be walking at around 3,000 meters, with scenery shifting between cultivated fields and eucalyptus forests. Along the way, you won't see many other hikers—mostly just locals tending to their herds.
If you decide on the 2-day version, direct buses from Latacunga to Isinliví are hard to come by: they only run from Tuesday to Saturday, with very specific departure times (Wednesday at 1:00 PM, Thursday at 11:00 AM from Saquisilí, Friday and Saturday at 11:00 AM). Outside of these times, your best bet is to take a bus to Sigchos and then hop on local transport (a pickup truck or a passing bus) to Isinliví (Google Maps).
Once you arrive in Isinliví, settle into one of the village hostels. Llullu Llama Hostel is the go-to spot: run by a local family, they have detailed maps for each stage of the trek and it serves as the launching pad for the next day's hike (Google Maps). Use the evening to rest up and get used to the altitude (3,187 meters). It's also a great opportunity to meet fellow travelers and swap tips for the upcoming days.
The Latacunga terminal opens at 7:00 AM and closes at 7:00 PM. For night buses to other destinations, make sure to buy your ticket in advance. Keep in mind that some companies don't depart from the terminal itself but rather from the main highway (the Paso Lateral), which is about a 20-minute taxi ride away. Double-check at the terminal before you head out. Don't forget to download essential travel apps before you arrive, especially Maps.me, which works offline and covers the paths along the Quilotoa Loop.
Isinliví - Chugchilán: 12.4 km through the heart of the canyon (4 to 6 hours)
This is the most varied day of the trek. The route drops down into a deep canyon before climbing back up the other side: a 365-meter elevation gain that is rated moderate to difficult. You'll start at 3,187 meters (Isinliví), descend to the canyon floor at 2,640 meters, and finish in Chugchilán at 2,992 meters. This means you'll end the day nearly 200 meters lower than where you started—though your legs certainly won't feel like you had it easy!
The hike is broken down into 6 key sections:
1. Setting off from Isinliví. Head out of the Llullu Llama Hostel, turn right, and pass in front of the kitchen. The trail starts immediately, heading down toward the canyon. The first few minutes set the tone: you're leaving civilization behind for the raw beauty of the Andes.
2. The first descent. Cross the concrete bridge and follow the dirt path. After 200 meters, you'll reach a fork in the road: take a right and keep heading down the dirt path. The trail plunges into the canyon through a series of switchbacks surrounded by lush vegetation.
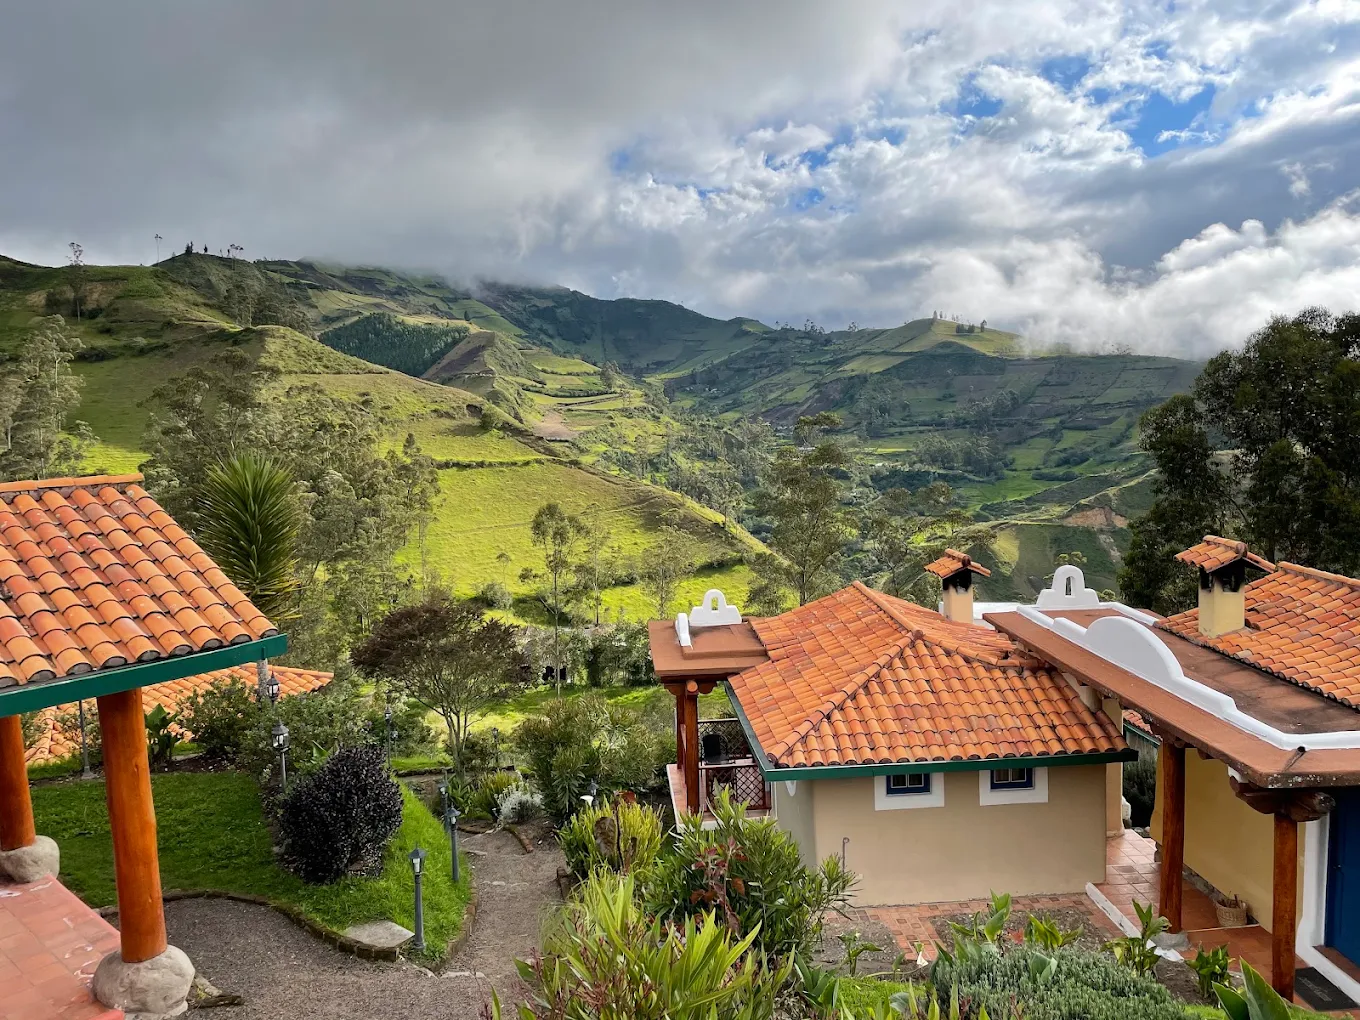
3. The canyon floor and the Río Toachi. You'll hit the lowest point of the trek at 2,640 meters. The landscape changes dramatically here, giving way to white cliffs, slender pines, and vast meadows. The loop signs will tell you to "follow the trail in the meadow, find and cross the concrete bridge, then continue on the grassy path on the other side" (Google Maps). This is the absolute perfect spot to take a quick breather before starting your climb back up.
4. The river crossing. Cross a wooden bridge followed by a suspension bridge, and keep heading straight. The trail starts climbing steeply on the other side of the canyon. This is where the hike shifts gears: the downhill is done, and it’s time to start earning those views on the way up.
5. The village of Itualo and your climbing options. Once you reach the village of Itualo, you've got two routes to choose from (Google Maps).
Option 1: the steep path, which is a direct 750-meter climb right after the bridge. It's quicker but a real leg-burner—the most direct way up if you're feeling strong.
Option 2: the red trail, a longer route that follows yellow and red markers. Follow the signs, head alongside the concrete bridge without crossing it, and take the path on the right. The incline is much gentler, letting you pace yourself. If you're feeling the altitude and are short on breath, this second option is definitely the wiser choice.
6. The home stretch. The last 2.4 kilometers take you along a dirt ridge road. At the fork, head left. You'll pass a few small guesthouses before arriving at the village church in Chugchilán (2,992 m) (Google Maps). Perched on the mountainside, this village is a welcoming sight and marks the end of a day filled with incredible contrasts.
In many ways, this stretch feels like the Mama Rumi trek between volcanoes and the Amazon, sharing that same mix of steep descents and demanding climbs. The big difference here is the altitude: every effort feels twice as hard with the thinner air. Take your time, find your rhythm, and enjoy the journey—it's not a race.
Chugchilán - Quilotoa: 11.4 km and 1,003 m of elevation gain up to the crater (4 to 6 hours)

The final leg is the most demanding in terms of elevation gain. You will head out from Chugchilán at 2 992 mètres to reach the rim of the Quilotoa crater at 3 894 mètres (about 12,777 feet): that is 1 003 mètres de dénivelé positif in a single day. The reward at the finish line makes every drop of sweat completely worth it.
1. Chugchilán to La Moya. From the village's main square, take the main road heading toward the library. At the intersection, turn left and follow the path for 500 meters. At the sign indicating "Quilotoa 10,24 km", turn left and head downhill for about 1 km, crossing a bridge. The trail then winds deeper into the Andean countryside.
2. The guinea pig farm. As you walk through La Moya, you will pass by a cuyes (guinea pig) farm, a traditional livestock practice in the Ecuadorian Andes. The cuy is a signature dish of Andean cuisine, and visiting these villages is the best way to see how deeply rooted it is in daily life. Continue for about 400 meters past the farm.
3. The canyon junction. You will face two choices at this fork.
Option A: the steep path, a direct descent into the canyon followed by a grueling climb up toward Guayama Grande.
Option B: the waterfall detour. By turning right, you will hug the canyon rim and enjoy great views of the waterfalls before crossing a stream and climbing back up to the road. This detour adds about 30 minutes to your trek but offers a perspective you won't find anywhere else on the loop.
4. The village of Guayama Grande. Follow the road for 100 meters through the center of the village: you'll pass local homes and a small grocery store where you can stock up on water and snacks (Google Maps). This is your last chance to buy supplies before the final climb. From here on out, follow the red signs and stay on the main trail, ignoring any side paths.
5. The final climb and the pine forest. The trail heads into a pine forest for about 200 meters, then meets up with a dirt road. This is physically the toughest stretch: the incline is steady, and you'll start to feel the altitude. You have two options to reach the crater rim: the winding road (walk 1 km up the switchbacks to the sandy area at the rim and the viewpoint) or the direct shortcut (a steeper trail that leads to the crater rim via a dirt path). Take your time and keep sipping water.
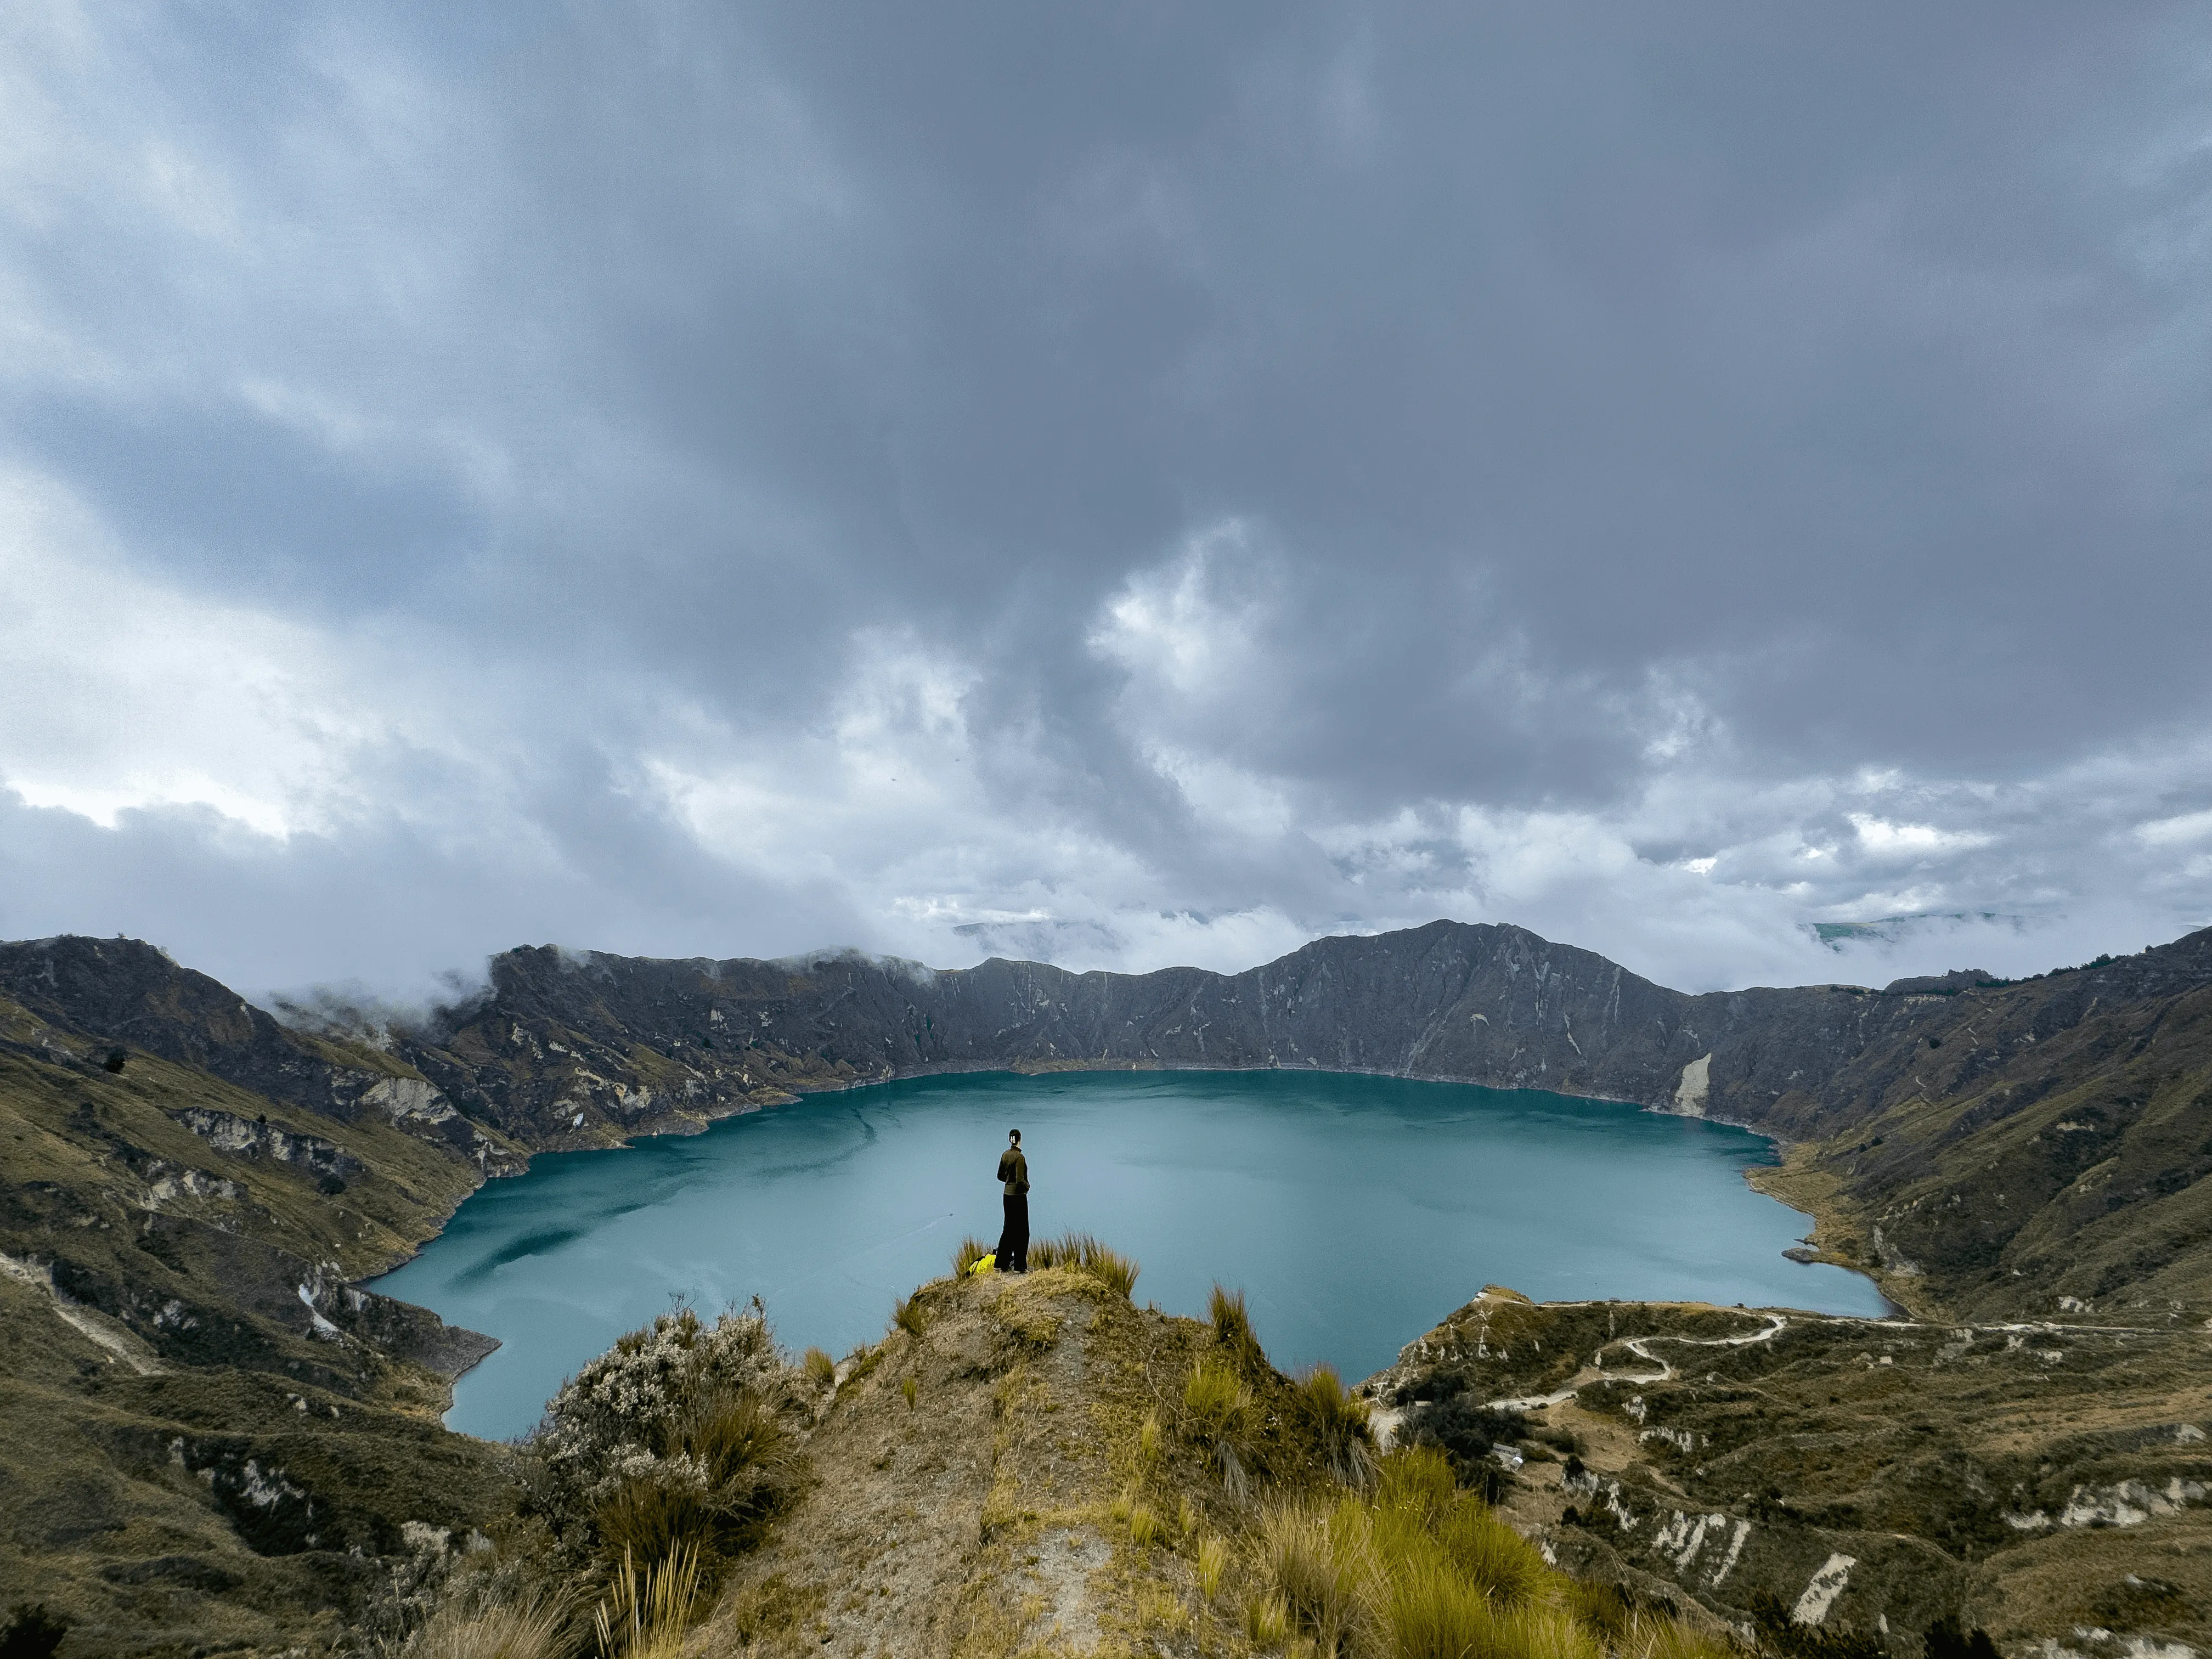
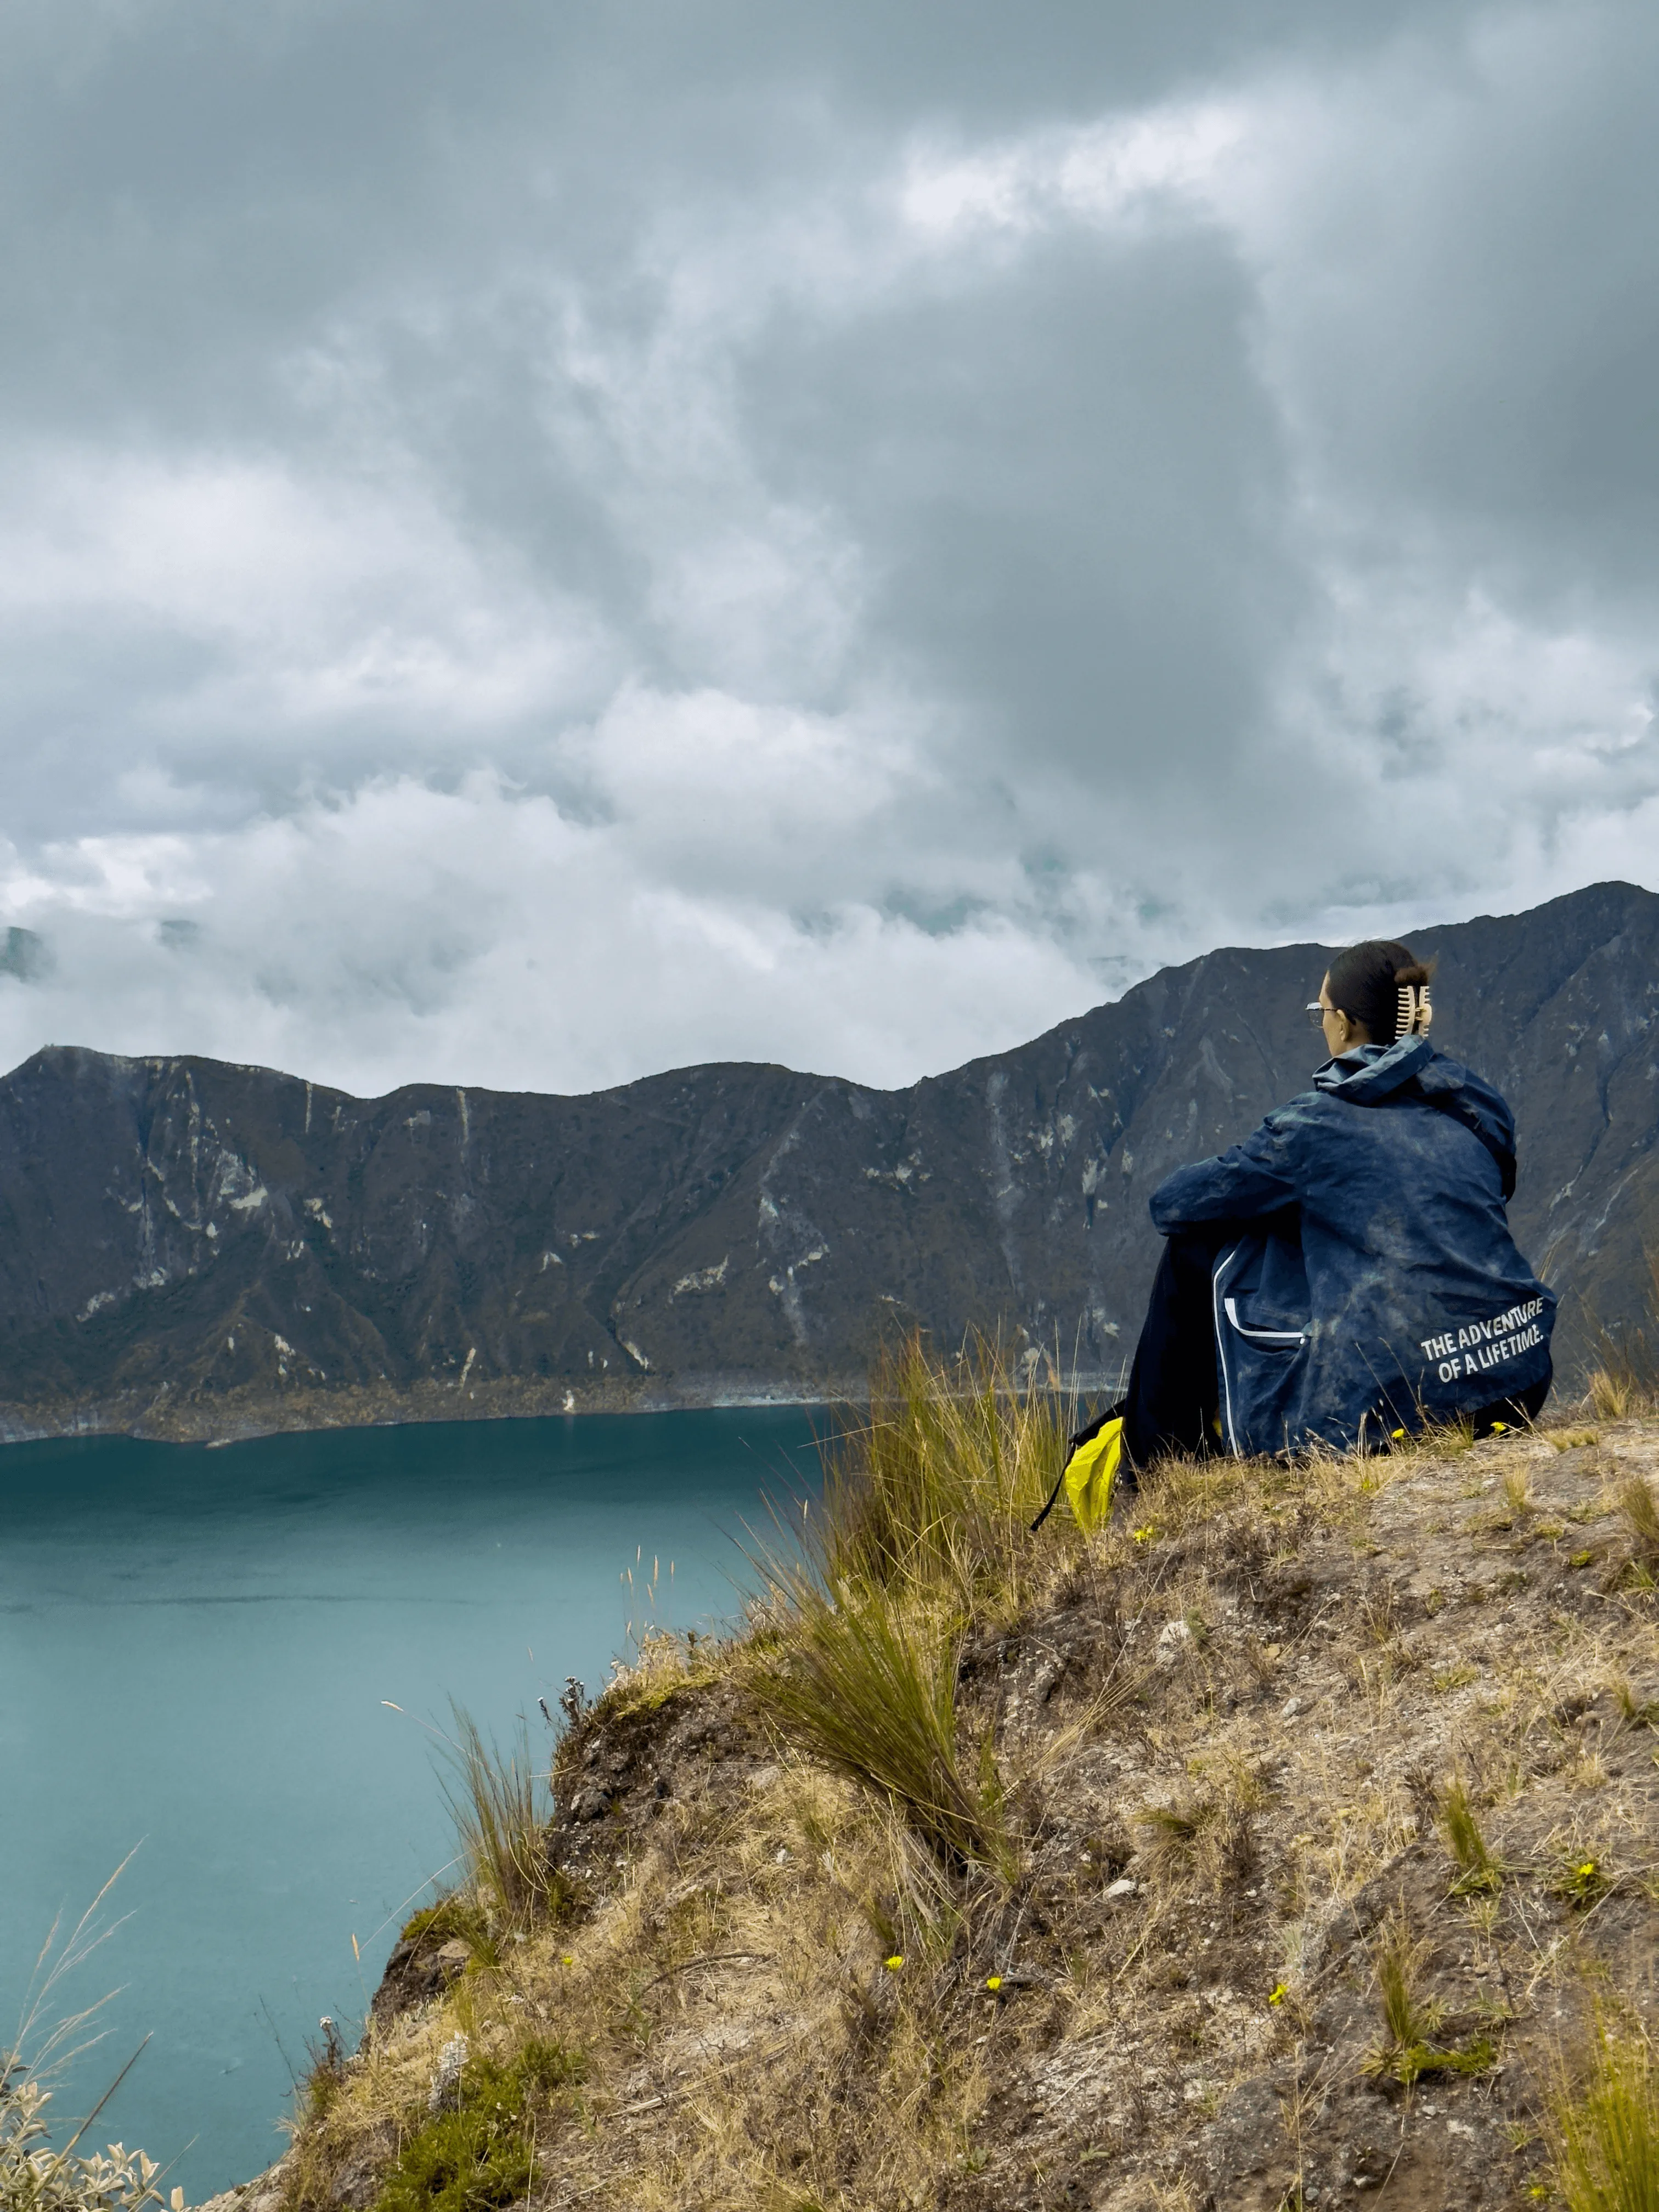
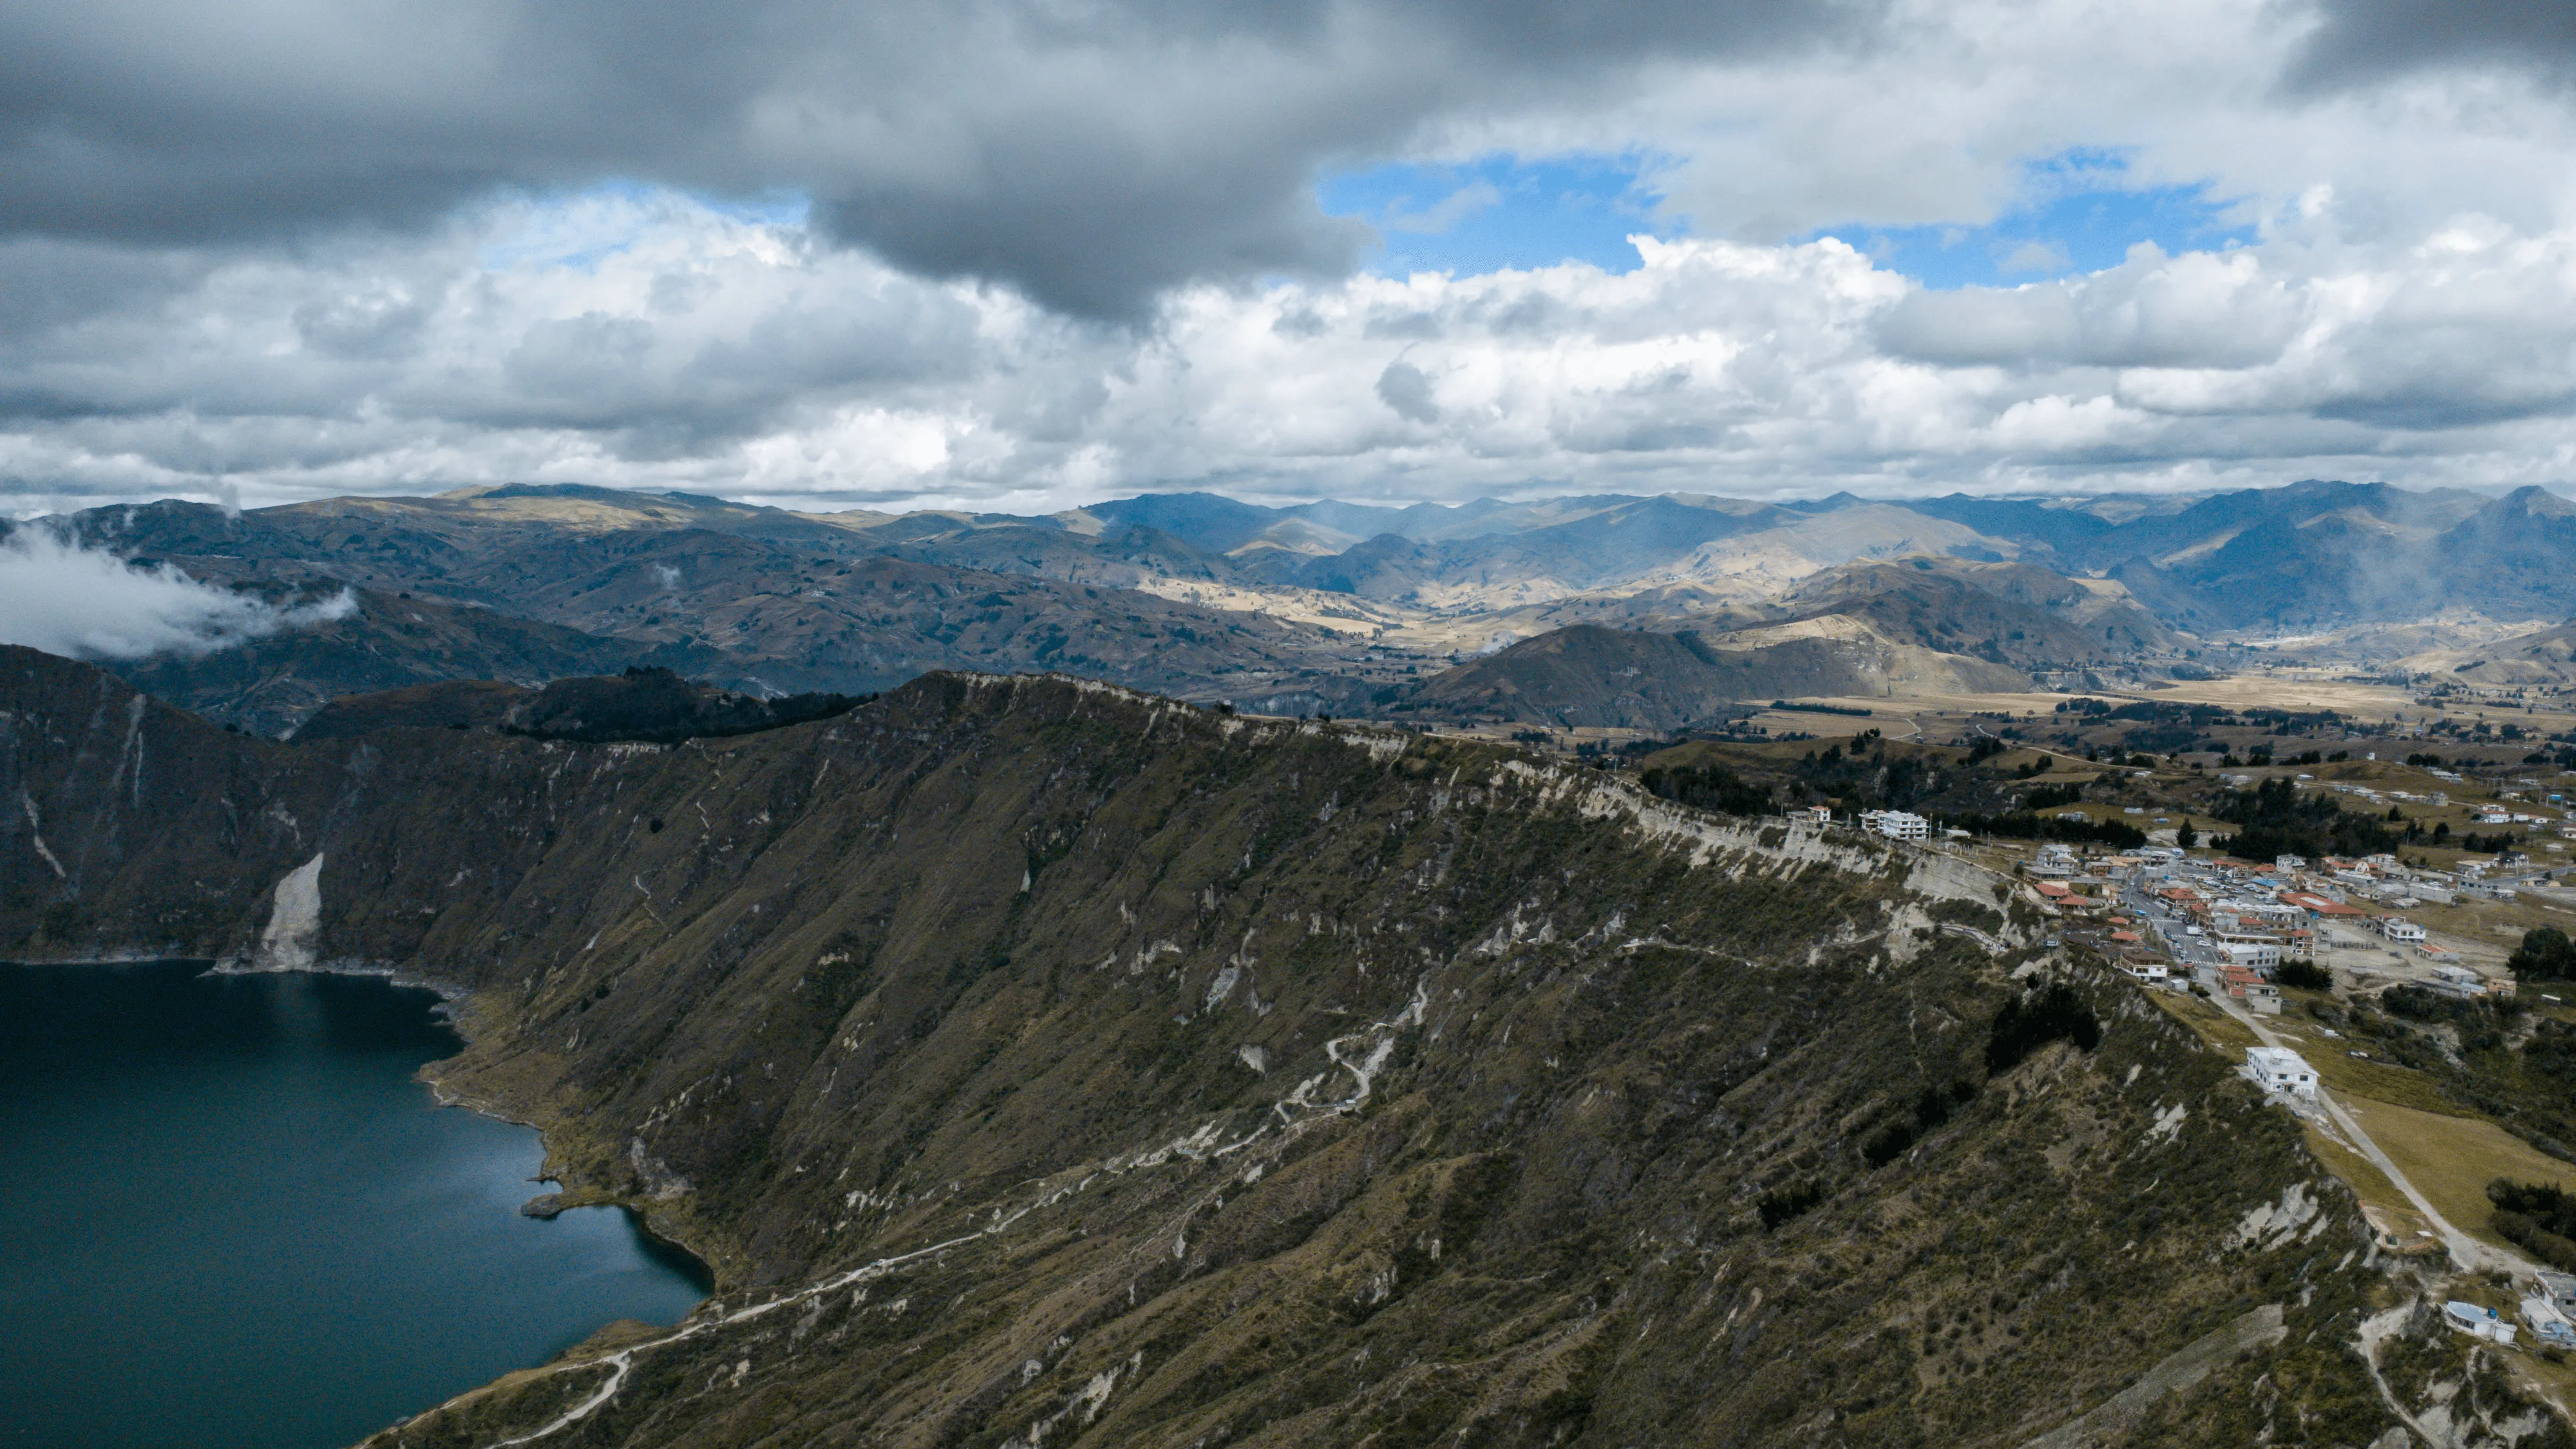
6. The crater rim (3,894 m). And then, all of a sudden, you're there. The trail opens up onto the rim, and the Quilotoa lagoon appears below, its blue-green water shifting colors with the light (Google Maps). The village of Quilotoa is right next door, with an information center located 50 meters down to the left. From the rim, a trail leads down to the lake in about 30 minutes (keep in mind the climb back up easily takes an hour at this altitude).
Why does this final day stay with hikers so much? Because the effort and the reward are perfectly matched. After a 1,003-meter climb, arriving at the crater never disappoints. It’s one of those moments that makes the entire trek worth it. If you're heading south after this hike, our 3-day Cuenca guide is the perfect next step.
Buses from Latacunga: schedules and prices
Latacunga is a major transport hub for the entire central Sierra. Here are the most useful connections for travelers planning the Quilotoa Loop or looking to continue their journey after the trek.
To the Quilotoa Loop villages:
Sigchos: Mon-Sat 8 am, 9 am, 10 am, 12 pm, 1 pm, 2 pm, 3 pm / Sun 8 am, 11 am, 12 pm, 4 pm, 5 pm, 7 pm (Google Maps).
Isinliví: Tuesday to Saturday only, limited timetables (Wed 1 pm, Thu 11 am from Saquisilí, Fri 11 am, Sat 11 am). Best to double-check at the terminal.
Chugchilán: Mon-Sun 8 am, 9 am, 11:30 am (via Sigchos), 12 pm, 2:45 pm, 5 pm.
Quilotoa: Mon-Sun 8 am, 11 am, 2 pm, 3:30 pm. Note: these buses go via Sigchos. The last return bus back to Latacunga leaves at 5 pm.
3. Altitude is a real challenge. Almost the entire trek takes place above 3,000 meters, peaking at 3,894 m. If you’re arriving from sea level or low altitude (the coast, the Amazon, the Galápagos Islands, or Central America), make sure to spend at least 2 to 3 days acclimating before hitting the trail. Quito (2,800 m) or Baños (1,820 m) are great places to adjust.
4. Leave your big bags in Latacunga. There's no need to haul your main backpack on the trek. Hostels in Latacunga offer free luggage storage, and some hostels along the Quilotoa Loop can arrange baggage transport between stops. Travel light with a daypack containing just the essentials: water, snacks, warm layers, and a rain jacket. Check out our backpack comparison guide if you're looking for the right gear.
5. It gets cold, even right by the equator. Temperatures on the loop range from 0°C to 16°C. At night, hostels aren't always well-heated. Bring plenty of warm clothes, even if you’re coming straight from the coast or the Galápagos. Layering is your best bet for handling the temperature swings between sunny daytime hiking and chilly altitude evenings.
6. Book your hostels ahead of time. Accommodations along the loop are small, family-run hostels with limited space (usually 30 people max). Some villages, like Isinliví, only have two hostels. During peak season (June, July, August) and around Christmas, they can easily book out. Secure your spots in advance to avoid any unwelcome surprises.
7. Transport is slow and unpredictable. The roads around the Quilotoa Loop are winding and bumpy. A mere 20 kilometers can easily take an hour by bus. Schedules are more of a guideline, and sometimes buses simply don't stop. Beyond the bus, you have other options: local milk trucks running early in the morning, private transfers arranged through your hostel, hitchhiking (very common and accepted here), and even horseback for certain stretches. Always chat with your hostel hosts before planning mornings on the move.
7 things to know before heading out on the Quilotoa Loop
5. It gets cold, even near the equator. Temperatures on the loop hover between 0°C and 16°C. At night, hostels aren't always well-heated. Pack warm clothes, even if you're coming from the coast or the Galápagos. Layering is your best bet for managing the temperature swings between hiking under the midday sun and chilly evenings at high altitude.
6. Book your hostels. Accommodations along the loop are small, family-run hostels with limited capacity (usually 30 people maximum). Some villages, like Isinliví, only have two hostels. During peak season (June, July, August) and around Christmas, they often fill up. Book ahead to avoid any unpleasant surprises.
7. Transport is slow and unpredictable. The roads on the Quilotoa Loop are winding and bumpy. A 20-kilometer stretch can easily take an hour by bus. Schedules are more of a suggestion, and some buses might just drive right past you. Beyond buses, you have other options: milk trucks running early in the morning, private cars arranged through your hostel, hitchhiking (common and well-accepted in the area), and even horseback for certain sections. Check in with your hostel before planning your journey.

2. You will get lost, and that's completely fine. Trails cross, split, and vanish into the fields. Let's face it, the trail markings are far from perfect. If you're not sure which way to go, just keep moving until you spot a landmark, or ask the locals. Getting a little lost is all part of the adventure, and finding your way back is never a big deal.
3. The altitude is no joke. Almost the entire trek takes place above 3 000 mètres, peaking at 3 894 m. If you are arriving from a lower altitude (the coast, the Amazon, the Galápagos, Central America), spend at least 2 to 3 days acclimatizing before hitting the trail. Quito (2 800 m) or Baños (1 820 m) are great places to adjust.
4. Leave your big bags in Latacunga. There is absolutely no need to haul your main backpack on the trek. Hostels in Latacunga offer free luggage storage, and some hostels along the Quilotoa Loop can arrange bag transfers between stops. Pack light with a daypack containing just the essentials: water, snacks, a warm layer, and a raincoat. Check out our backpack comparison guide if you are looking for the perfect gear.
5. It gets cold, even close to the equator. Temperatures on the loop hover between 0°C et 16°C. At night, hostels aren't always well-heated. Pack warm clothes, even if you're coming straight from the coast or the Galápagos. Layering is your best friend to handle the temperature swings between hiking under the strong sun and chilly evenings at high altitude.
6. Book your hostels. Accommodations along the loop are small, family-run hostels with limited capacity (typically 30 personnes maximum). Some villages, like Isinliví, only have two hostels. During peak season (juin, juillet, août) and around Christmas, they can easily fill up. Book ahead to avoid any unpleasant surprises.
7. Transport is slow and unpredictable. The roads on the Quilotoa Loop are winding and bumpy. A mere 20 kilomètres peuvent prendre une heure by bus. Schedules are more of a suggestion, and some buses simply won't stop. Beyond the bus, you have other options: early morning milk trucks, private cars arranged through your hostel, hitchhiking (common and well-accepted in the area), and even horseback for some stretches. Chat with your hostel hosts before planning your next move.
What will the weather be like for your trip?
Budgeting and final tips
The Quilotoa Loop is one of those experiences that redefines what it means to travel light. No screens, no reception, no unnecessary luxuries: just your own two feet, Andean views, and villages that live by the rhythm of the seasons.
Whether you opt for the 2-day version to head straight to the two most striking stops, or the 3-day version to take advantage of acclimatization and the Sigchos-Isinliví stretch, the result is exactly the same: arriving at the edge of the Quilotoa crater is something you'll never forget. At 40 to 60 dollars all-inclusive, it’s one of the best value high-altitude treks on the continent.
If your Ecuador itinerary takes you through the Sierra, this trek is well worth a few days of your time. Consider combining it with a stop in Baños and Patate to the south, or a visit to the Zumbahua market, held every Saturday right on the Quilotoa Loop route.